Introduction
Every day the line between the physical world and the digital one gets a little thinner. Virtual reality, augmented reality, and 3D printing have made that gap feel much smaller, and that is why being able to copy objects digitally is such a handy skill. In this article, I am going to go through three low-cost techniques I have used for that purpose. This is not meant to be a deep tutorial for any one of them, but more of a practical overview of when each one makes sense and what to watch out for.
3D modeling
If the object you want to copy has a simple shape and is not too small or too shiny, the easiest route is often to just model it directly in a 3D program. It can look intimidating at first, but it is usually easier to learn than it seems. There are plenty of ways to do it, and I personally like Autodesk Fusion 360 because it is practical and very approachable. I will show the process with a quick example: one of the pieces of my chessboard went missing, and I needed a replacement. The piece was small, which made scanning awkward, and it had no texture, which made photogrammetry a poor fit, but it had a very simple shape, so I modeled a new one from the other pieces and used that as a reference.
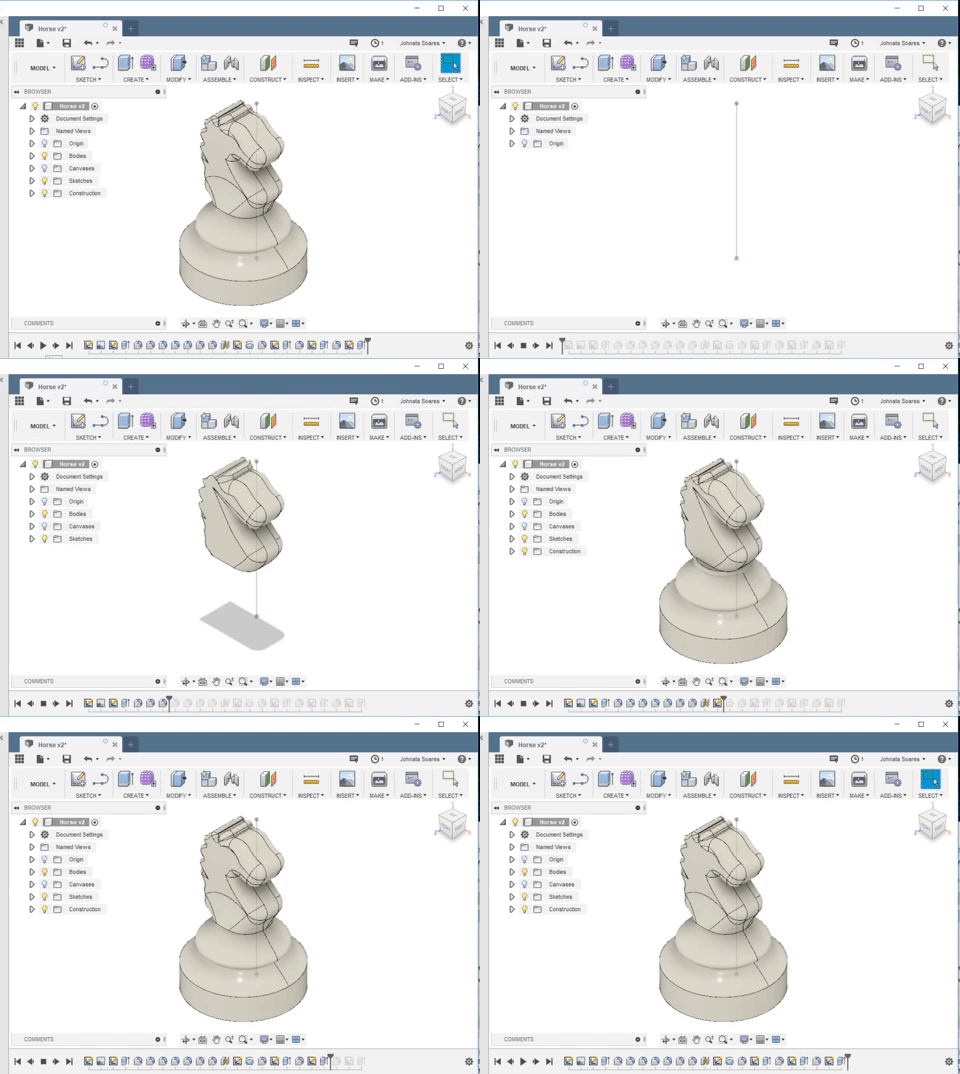
3D modeling horse
As you can see, with a few modeling commands and some reference photos, I was able to create a good enough replacement very quickly. The model was then exported as an STL file and printed. You can see and download it below.
Photogrammetry
If the object is too complicated to model by hand and you do not have a 3D scanner, photogrammetry is a great option. I have used Meshroom for this, and it works best when the object has lots of texture and surface detail. Stone, wood, and other rough materials are perfect for it. If the object is shiny, metallic, or very smooth, it gets much harder to get a clean result. To illustrate the process, I will show how I used photogrammetry to digitize a statue at my university. It was a good test case because it was large, had a rough surface, and the photos were taken on a cloudy day, which helped avoid harsh shadows.
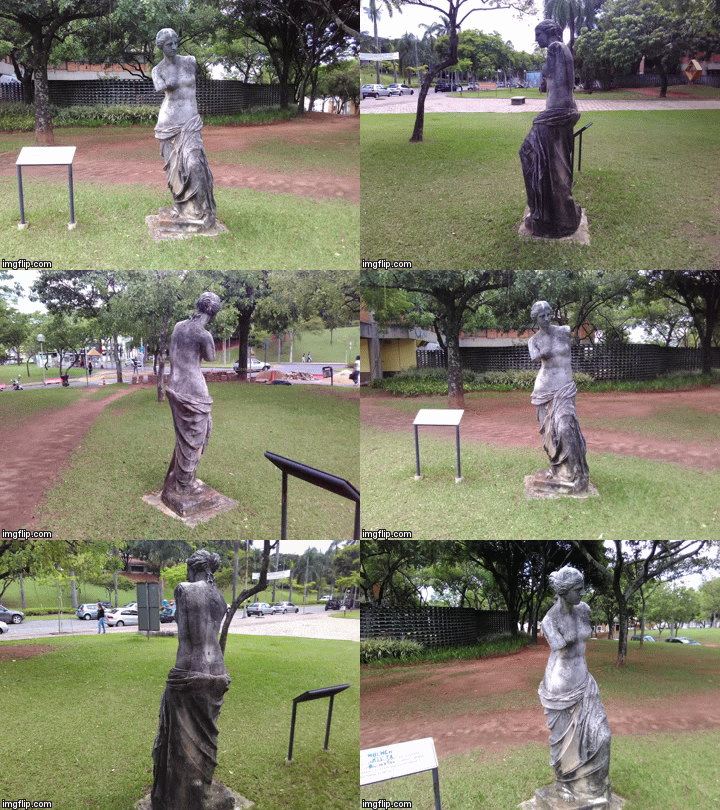
Going around Venus
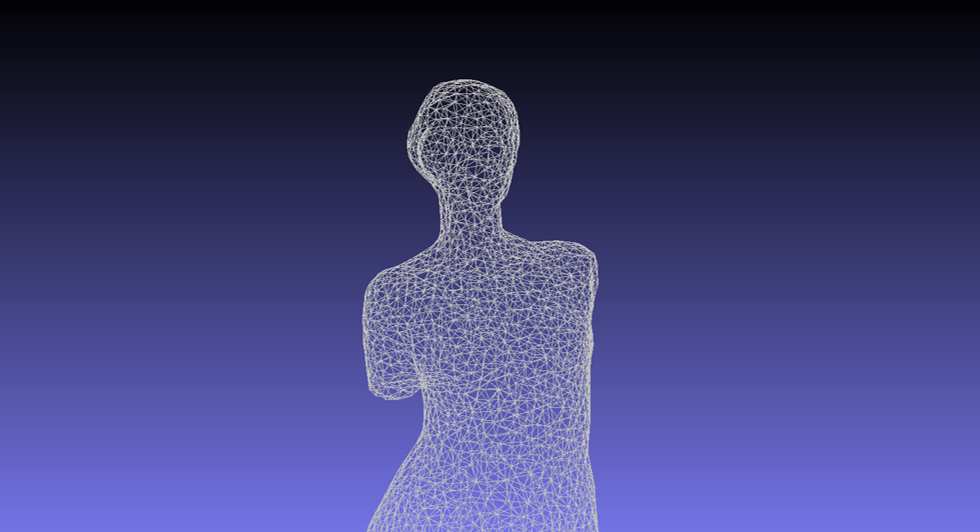
After taking the photos, I uploaded them to Meshroom and used its default settings with one small change: I reduced the maximum number of points in the mesh node from 5,000,000 to 1,000,000. The reconstruction took about three hours on my computer, even with an NVIDIA GeForce GTX 950, but the result was good enough to be worth the wait. You can see the output below.
3D Scanning
3D scanners can be expensive, but if you are working on a budget the Xbox 360 Kinect is a surprisingly good substitute. With Skanect, it can act like a basic 3D scanner, and you only need the right adapter to connect it to a Windows PC over USB. I have used it at home when I wanted to scan something with interesting geometry or a natural, organic shape. To illustrate it, I scanned a human bust. The process is fairly simple: plug the sensor into the PC, launch the software, and walk around the subject while trying to capture as much detail as possible. The interface looks like this.
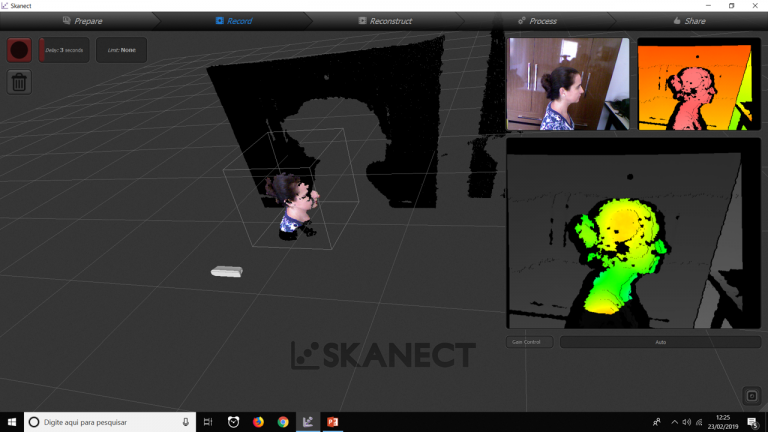
Scaning process
It is worth making sure you have enough space to walk around the object and that the cable will not get in the way. It is also important to remember that this technique struggles a lot with shiny metallic surfaces. The whole scan took about fifteen minutes. You can see and download the result below.
Conclusion
A quick way to think about these methods is this:
- 3D modeling is a great choice when the object is simple enough or when the other options are not practical.
- Photogrammetry works well for medium-complexity objects with rough surfaces when you have time and processing power to spare.
- 3D scanning is a good choice for complex objects that are not shiny and are about medium size.
- If you want to polish the results even further, MeshLab and Autodesk Netfabb are both excellent tools for cleaning up the meshes afterward.
Below you can see a timelapse of the examples from this article being 3D printed.
Comments
Comment with your GitHub account.